Thursday, July 5, 2012
Making chocolate!
Ever thought about making chocolate? Well, if you're in the Boston area, look no further!!
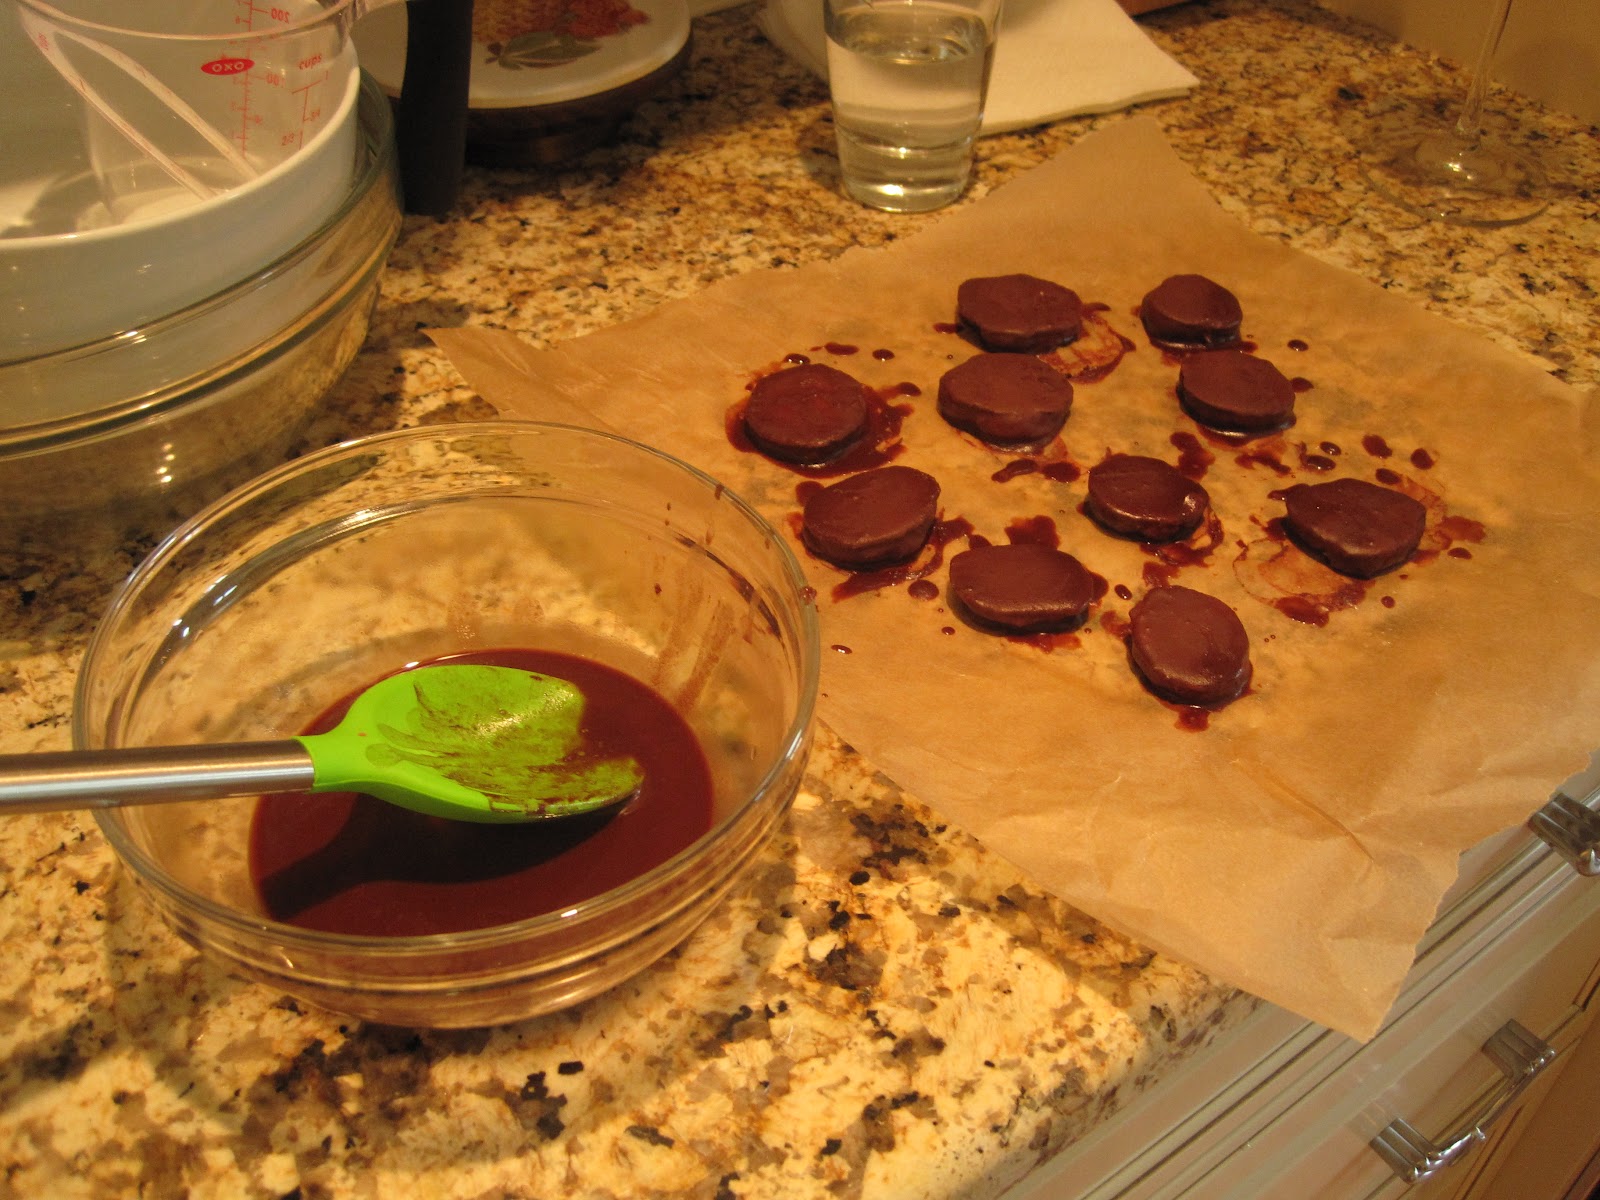
I saw a LivingSocial deal for this class at ChocoLee Chocolates and thought hey, could be fun! I got a friend to buy it with me last July, and she called in January to schedule a date in but they didn't have any openings until June!! So, we had this on our calendars for 6 months, and after almost a year we finally had the class, and it was a lot of fun! It's a 3 hour class on a Wednesday night or Saturday afternoon, and in our class we did chocolate almond bark, truffles, and filled chocolates. We mostly worked with dark chocolate - my favorite - so I really liked that part. You don't actually just work on your own chocolates - everyone works together and you can switch between different tasks as you want. So, if you don't want to chop a huge (HUGE) bar of chocolate, you don't have to. And you still come home with a LOT of really delicious creations!
I actually saw at least one other Groupon or LivingSocial for this class recently, so if you're interested, keep your eyes open for a good deal :)
Monday, July 2, 2012
Birthday dinner #2: Oaxacan Tlayuda with Guacamole
Birthday dinner with Dave this time! He doesn't like serious cooking (aka with recipes) very much but went all out for my birthday :). According to my Moosewood cookbook, tlayudas are tortillas baked or grilled with all sorts of toppings, like Mexican pizzas. There are a bunch of steps involved but, very tasty!
1 tbsp vegetable oil
3 garlic cloves, minced or pressed
1/2 cup diced onions
3/4 cup diced bell peppers
1/8 tsp salt
1 tsp ground cumin
1/4 tsp cayenne
1 15-oz can pinto beans (1/4 cup of liquid reserved)
2 whole grain tortillas (or 4 small ones)
1 cup grated sharp cheddar cheese
1 cup shredded green cabbage or slaw mix
1 cup diced fresh tomatoes
2 tbsp chopped fresh cilantro
Warm the oil in a skillet on medium heat. Add the garlic, onions, bell peppers, salt, cumin, and cayenne and cook, stirring often, until soft, about 10 minutes. Remove from the heat.
Drain the pinto beans, reserving about 1/4 cup of the liquid. In a food processor or blender, puree the beans, cooked onions and peppers, and just enough of the reserved bean liquid to make a thick, creamy spread. Add more salt and cayenne to taste.
Place the tortillas on an unoiled baking sheet. Spread each with half of the pureed beans (or 1/4 if you use 4 small tortillas) and top with cheese. In a preheated 450 degree oven, bake until the cheese melts, about 5 minutes. Spread 1/2 cup (or 1/4 cup for 4 tortillas) of the cabbage or slaw mix on each tortilla and bake for another 5 minutes. Toss the tomatoes with the cilantro and sprinkle on top of the cabbage. Bake for a couple of minutes, just until the tomatoes are hot.
Optional (but highly recommended!): Simple Guacamole
2 large ripe Haas avocados
2 tbsp lemon or lime juice
1/4 tsp salt
1.5 tbsp minced red onions (optional)
pinch of cayenne or dash of Tabasco or other hot pepper sauce (optional)
Slice lengthwise around each avocado down to the pit. Twist the halves apart, and remove the pit. Scoop out the flesh and mash it in a bowl. Stir in the lemon juice and salt, adding more to taste. Stir in the red onions and cayenne, if using. Serve immediately.
Both recipes from "Moosewood Restaurant Cooking for Health"
Lemon blueberry buckle
YUM. This makes me drool just looking at it. This was Dave's birthday "cake" for me - I picked it out instead of a cake because I thought it would be more interesting. And that it was. I normally don't like lemon-flavored desserts all that much but I loved this. I had also never made or even heard of a buckle before, but I'll definitely look for more recipes after this one! When we were making this, we were thinking that the lemon glaze for the top was unnecessary - but it IS necessary. Once it sits for a bit it gets crunchy and just awesome on the top. Just do it.
Crumb topping
1/2 cup flour
1/3 cup sugar
1/8 teaspoon salt
Zest of 1 lemon
1/4 cup (1/2 stick) butter, cubed, at room temperature
In a medium bowl, whisk together the flour, sugar, salt and lemon zest. Add the butter, using a fork or your fingers to cut in the butter until it is reduced to the size of peas. Loosely cover the bowl, and place it in the freezer while you mix the cake batter.
Cake and assembly
6 tablespoons butter, at room temperature, plus extra for greasing the pan
1 1/2 cups plus 2 tablespoons flour
1 teaspoon baking powder
1/4 teaspoon baking soda
1/2 teaspoon salt
1/4 teaspoon freshly grated nutmeg (I used dried nutmeg - it's a 1:1 ratio fresh to dried)
3/4 cup plus 1/3 cup sugar, divided
Zest of 1 lemon
2 eggs
1/2 cup buttermilk (or sour milk, milk + vinegar or lemon juice)
2 cups blueberries, fresh or frozen, divided
Crumb topping, chilled
Juice of 2 lemons (about 6 tablespoons)
Lightly grease a 9-inch square baking pan.
In a medium bowl, whisk together the flour, baking powder, baking soda, salt and nutmeg.
In the bowl of a stand mixer, or in a large bowl with a hand mixer, cream together the butter, three-fourths cup sugar and lemon zest until light and fluffy, 3 to 5 minutes. Add the eggs, one at a time, scraping down the sides of the bowl after each addition.
Stir the flour mixture into the bowl, a third at a time, alternating with the buttermilk, until both the flour mixture and buttermilk are evenly incorporated into the batter. Gently fold 1 cup of the blueberries into the batter.
Spread the batter into the prepared pan and distribute the remaining blueberries evenly over the top of the batter. Remove the crumb topping from the freezer and sprinkle it over the berries.
Bake the cake at 350 degrees until it is lightly golden and firm on top, and a toothpick inserted in the center comes out clean, 45 to 50 minutes. Rotate the pan halfway through for even baking.
While the cake is baking, make a lemon syrup: In a small saucepan, combine the remaining one-third cup sugar with the lemon juice and whisk until blended. Heat the pan over medium-low heat and cook, stirring occasionally, until the liquid thickens to a syrupy consistency, 6 to 8 minutes. (The glaze will bubble while cooking and may need to be removed from the heat to check that it is the proper consistency.) Remove from heat and set aside in a warm place.
Remove the cake from the oven and drizzle the warm glaze over. Cool to room temperature. The cake will keep at room temperature for 2 to 3 days, covered in plastic wrap (or in the fridge for a week or so).
Original recipe here
Birthday Dinner - Basho
Parent-sponsored birthday dinner at Basho = amazing sushi! One of the rolls in the photo was a summer roll that had a bunch fruit in it - was a little nervous about it but it was awesome. Great meal after an afternoon Red Sox game!
Wednesday, June 27, 2012
Raw Peppermint Patties
Well, it's been about a month and a half since my last post, and I'd like to say I have a good excuse but alas, I do not. Work has gotten busy, boyfriend is on "summer vacation" until medical school, etc, etc...and I'm just plain lazy?
Anyway, I actually made these suckers on Mother's (...Mother's or Mothers'??) Day and am finally getting the post up. I saw this recipe on Tastespotting, I believe, and my mom LOVES York peppermint patties so I thought I'd give them a try. I was surprised to see how much coconut is involved (oil and shredded) - since you definitely don't taste any coconut in a peppermint patty! I had also never seen coconut oil before - so that was an interesting sight. Picked it up at Whole Foods with my sister, and both of our reactions were basically "EW."
Anyway, these weren't actually very hard in the end, and definitely an interesting endeavor. Highly recommend these!
1/2 batch of raw chocolate
1/4 cup cashews
1/4 cup shredded coconut
1/4 cup coconut oil
1 tbsp honey
1/4 tsp peppermint oil (OR peppermint extract)
In a food processor, grind cashews and shredded coconut together into a fine powder. Add coconut oil, peppermint oil, and honey, and pulse until combined - be careful not to over process! Place in refrigerator to set while you make the chocolate sauce, which will need to be warmed slightly inside a bowl of hot water to ensure a liquid consistency.
Once the cream has hardened, separate nine equal portions, which can then be shaped into patties with your hands (roll the cream into a ball and press it flat). Place patties in the freezer for 10 minutes or so.
When the patties are fairly cold, dip them one at a time into the chocolate sauce, which should harden immediately. I was able to dip each patty about three times before I ran out of chocolate.
(**NOTE: I stored mine in the freezer and they still melted on my fingertips when I took them out. This may have been because I couldn't find raw cacao powder for the raw chocolate and had to use regular cacao powder instead, but who knows. They taste pretty good cold anyway!)
Original recipe here
Saturday, May 12, 2012
Roasted Vegetable and Spinach Lasagna
I've only tried one other lasagna recipe and I don't remember it taking NEARLY as long to prepare.
This is delicious, but be warned: it takes almost 2 hours to prepare and another hour in the oven. It's definitely a good option to provide lunches/dinner for over a week (for one), but make sure you have your head in the game before you get started. I made this on a really lovely Sunday afternoon, and the whole time I was wishing I was outside.
Notes:
I just used mozzarella cheese instead of a mix, but only because I couldn't find the one called for - the mix sounds delicious though.
I don't really see any need to use frozen spinach, it was more annoying than anything - feel free to chop your own.
I did my layers: sauce, noodles, cheese mixture, veggies, sauce. I got confused. I only ended up using half of my noodles. Didn't matter in the end - do the layers however you want!
2 zucchinis, sliced 1/2 inch thick
2 red peppers, seeded and cut into thick slices (4-6 slices each pepper)
1 (375g, 13oz) package of uncooked oven ready lasagna noodles
2 cups of parmesan, mozzarella, and provolone cheese mix
1 medium onion, finely chopped
5-6 cloves of garlic, finely chopped
16 oz mushrooms
1 Tbsp dried oregano
1 Tbsp dried basil
1 tsp dried thyme
1 (156 mL, 5.5 fl oz) can of tomato paste
1 1/2 tsp paprika
1 (739mL) jar of roasted red pepper and garlic tomato sauce
475g ricotta cheese
2 300g packages of frozen chopped spinach, thawed with water rung out
2 eggs
Extra virgin olive oil
salt and pepper
In a small bowl, mix the zucchini with a small amount of olive oil and salt and pepper. Place the zucchini and red pepper slices on a baking tray and bake at 450F for 25 minutes. Half way through, turn the zucchini and red peppers so that they are evenly cooked on both sides. Let cool, and roughly chop the zucchini and red peppers.
In a pan, saute the onions and garlic with some olive oil until the onions are translucent. Add the mushrooms, basil, oregano, and thyme and continue to saute until the mushrooms are cooked. Add the tomato sauce, tomato paste, paprika, zucchini, and red peppers and saute for another 10 minutes. Add some water if the mixture is too thick.
In a bowl, mix the ricotta, eggs, spinach, and a large handful of the cheese mixture. Layer the lasagna: coat the bottom of a 9x13 inch baking dish with the sauce mixture, place the lasagna noodles on top of the sauce until the dish is covered, spread a thin layer of the spinach mixture over top of the noodles, sprinkle the cheese mixture over top, and cover with a layer of the lasagna noodles. Add a layer of the tomato sauce mixture, sprinkle the cheese mixture over top, and cover with a layer of the lasagna noodles. Repeat until the baking dish is full and your ingredients used up. The last layer should be the tomato sauce with some cheese sprinkled over top.
Cover with aluminum foil. Bake for 50 minutes at 350F. Remove foil about 10 minutes before done cooking. Let it sit for 8-10 minutes before serving.
Original recipe here
Wednesday, May 9, 2012
Taco Salad with Cilantro Lime Vinaigrette
My sister sent me a link to this recipe and a few others as part of a weekly dinner planning menu for 2 people/vegetarians. It has a bunch of good recipes, so I'd encourage you to check out the link below.
I am not one to cook every day after getting back from work (I probably cook only one weekday per week) so I just chose two of these to try. I also made the Risotto Primavera, which was interesting but didn't have much flavor. I had never made risotto before, and I'm glad I tried it, so now I know that it's a lot of effort! (Not difficult, but a lot of time standing over the stove.)
Anyway, this recipe was really easy and has a lot of my favorite foods. So, win-win!
2 flour tortillas
3 cups of romaine lettuce, chopped
1 cup frozen corn
1 cup black beans
1 cup cheddar cheese, shredded
1/2 red bell pepper, chopped
15 cherry tomatoes, halved
½ avocado, chopped
Vinaigrette Ingredients:
1 tablespoon fresh lime juice
1 tablespoon cilantro, finely chopped
2 tablespoons olive oil
1 tablespoon red wine vinegar
½ tsp salt
Pinch of pepper
Preheat oven to 350 degrees. Using an oven safe, glass bowl, place bowl upside down on a baking sheet. Use hands to mold flour tortilla to bowl and bake for 10 minutes or until tortilla is golden brown. Repeat with second tortilla (or use two bowls).
While tortillas are baking, whisk together lime juice, olive oil, vinegar, salt and pepper to form cilantro lime vinaigrette. Once tortillas are baked, fill shell with beans, corn, lettuce, tomatoes, pepper, cheese, avocado, and top with vinaigrette.
Original recipe here
Subscribe to:
Posts (Atom)